
Kim's Panorama Assignment
Jr' High Playground Panorama

For this Panorama, I used the reception effect on Photoshop Elements 12. I like this one the best out of the three because I like how the play structure is there with the snow on the ground and the trees combining with the sky. It looks like its filtered but its not. The sky at the time I took this picture was pretty good and it added contrast to the picture. But what's disappointing is that, only two pictures worked when it was merged and I didn't like how the other Panorama categories merge the pictures. Only the reception effect worked for me.
Pictures I used to create this Panorama :


Dominion/Downing Street Panorama

For this Panorama I used the Spherical effect and It came out well when I filled in the sides it didn't have any imperfections. I just don't like how it looked tilted and the road kind of ruined the picture.
Pictures I used to create this Panorama :


Sargent Park Panorama
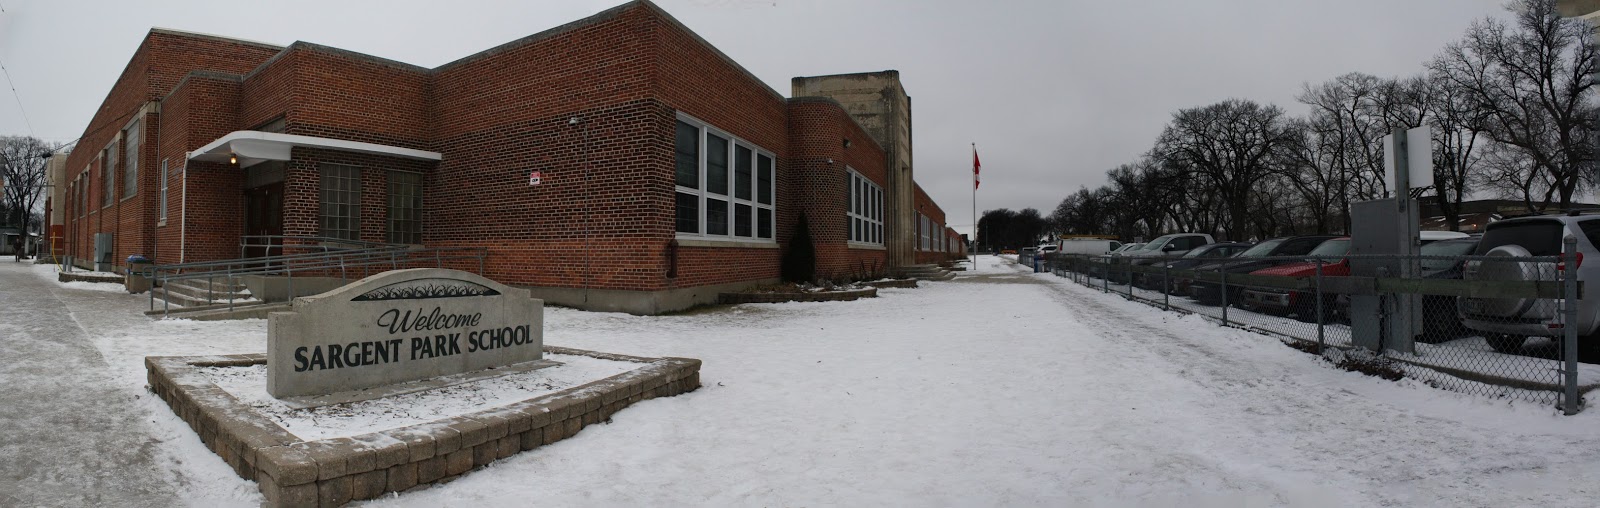
(CYLINDRICAL)

(AUTO)

(SPHERICAL)
For this Panorama, I used three panorama categories. Cylindrical, Auto and Spherical. I don't think it made a lot of difference changing the effect. The only thing I think changed is the direction of the picture as you can see above, the spherical effect look much different than the auto and cylindrical one. The Sargent Park rock and the building look farther even though I cropped it to hide the bad stuff when it was filled in. While the auto effect looks like a normal panorama that you can do with your phone, it's lined up and the cylindrical one I don't really know how to explain it. It looks like it bulged up or it's like a spherical and auto effect combined. By the way I filled in all of it and it looks okay. I just had to crop the last one but just a little bit to remove the imperfections.
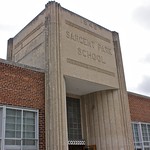
Pictures I used to create this Panorama :


0 comments :
Note: Only a member of this blog may post a comment.