In my Photo Merge project, John Allen instructed me to go to a room by the kindergarten class, because of the positivity the light brings to the picture. I did a couple of silly looking poses to bring character into the picture. After we took the pictures, I went onto Photoshop, I noticed that one of the pictures would be over lapping another one so, I just didn't use it. After that I merged all the four pictures. I started with the picture of me on the floor, then the one with me crossing my arms, then, the middle picture, and finally the one looking at my two bottoms. I also used the merge tool for some of the wall because it wasn't how I wanted it to be.
Raw photos:
Over lapping photo I didn't use:
Panorama Assignment
Reposition
This effect causes a part of the building to bulge out which is not very effective to make it smooth as possible. Although,everything seems to be put in place other than the building.
Spherical
This effect gives a much better looking surface and does not have parts bulging out like the reposition effect. It also shows kind of a fish-eye effect;.
Collage
This effect also causes a fish-eye effect. However, the collage seems to be more rounded in the middle.
This is my photo merge assignment. To make this type of photo, you will need a tripod, a camera and a model. The reason why we need a tripod is that it makes sure that the camera won't move and it will stay in one spot. Then your model is going to pose in different poses and in different spots, you can take a lot of shots as you like. After that you go to Photoshop Elements, go to the enhance and then find the photo merge scene cleaner. Then all of the pictures that you took will be enhance. Now you have to outline the model for each photos, meaning that the model will appear in one picture ( shown above). You have to make sure that the model is not overlapping and that your picture has to portray a story. To make it interesting for the viewers.
The story of my photo merge is that Coleen ( the model) is walking in a straight direction but something blocked her path. So she had to take a detour to the left and she finds herself in the future.
Here are 3 photos that where used for photo merge:
- First picture represents the past
- Second picture represents the present
- Third picture represents "the door of the future"
Here is my final product of Scene Cleaner Photo merge
Here are my 3 raw photo's
 It;s not hard to make this kind of photo because you just need to take few photos and open up Photoshop to make it into one fianl picture
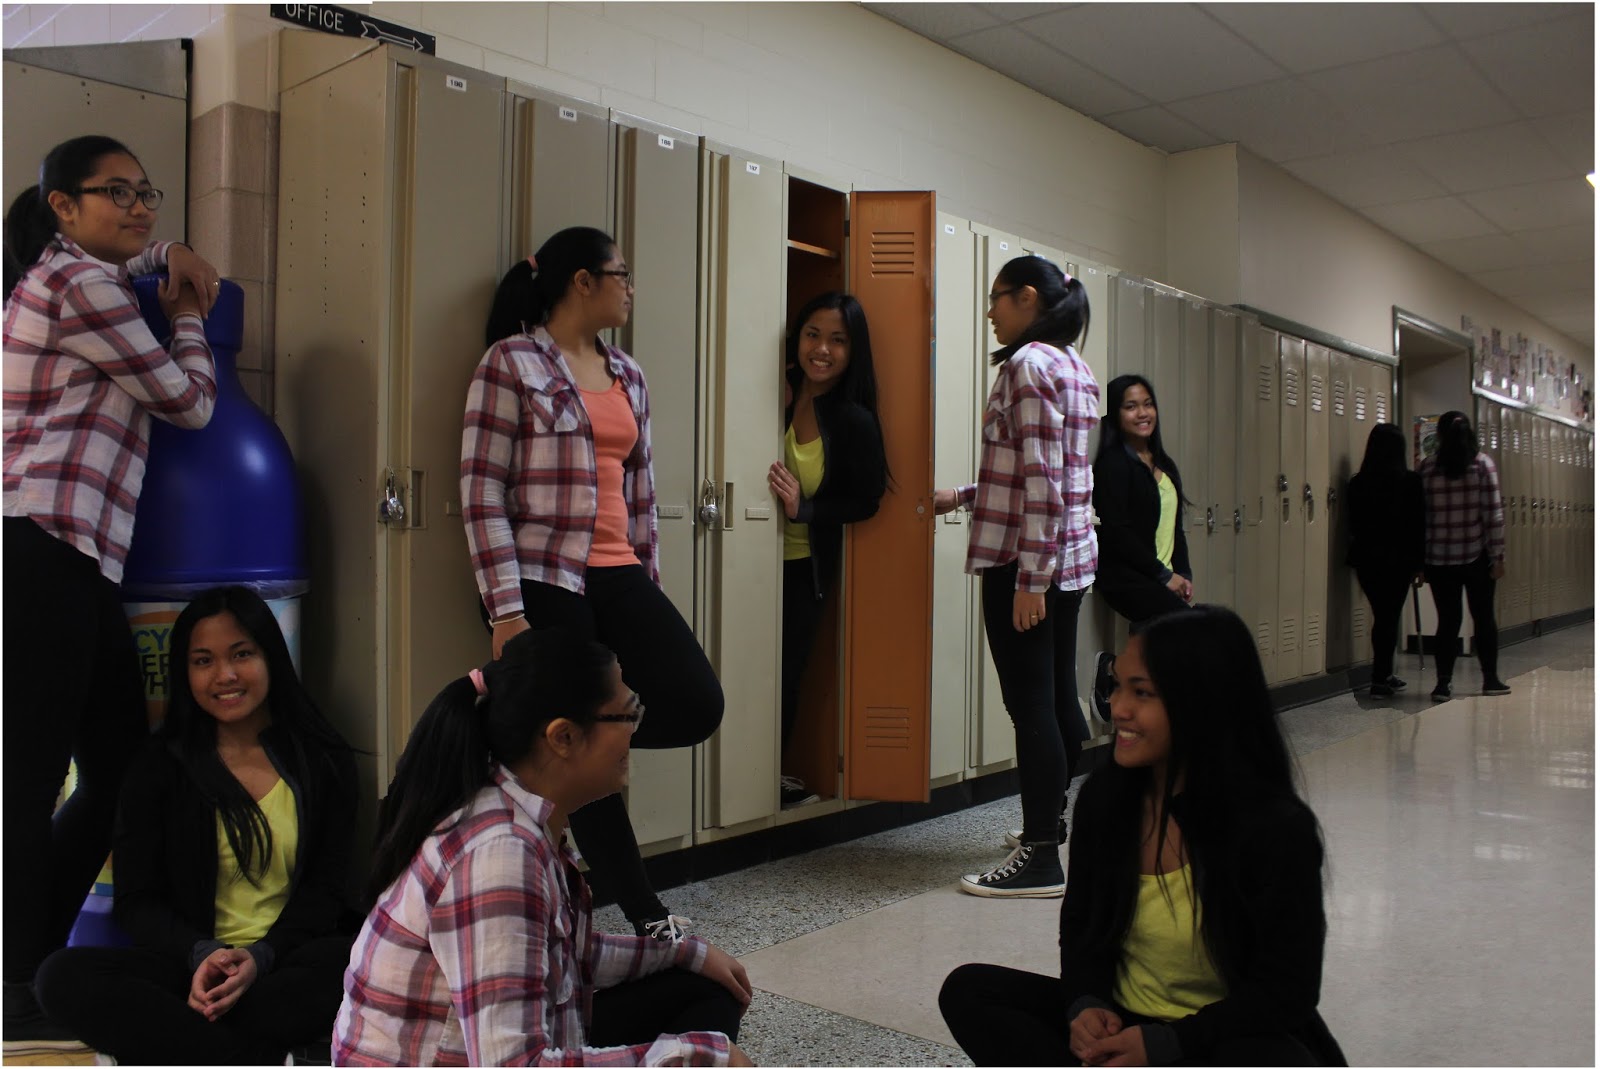
To make this kind of photo, you need multiple different photo's. The camera shouldn't move. You need to use "Photo merge Scene Cleaner". The subjects move from different positions. Make sure you have empty spots so you can add the subjects in one photo. I had Haifa and Kyla as my models and it turned out pretty well because they can do different poses. They moved
 This photo is showing you that they are friends and they can do different kinds of things. The people sitting is like imagining something they can do in the future. The multiple different versions of them represents the the things that the people sitting can do.
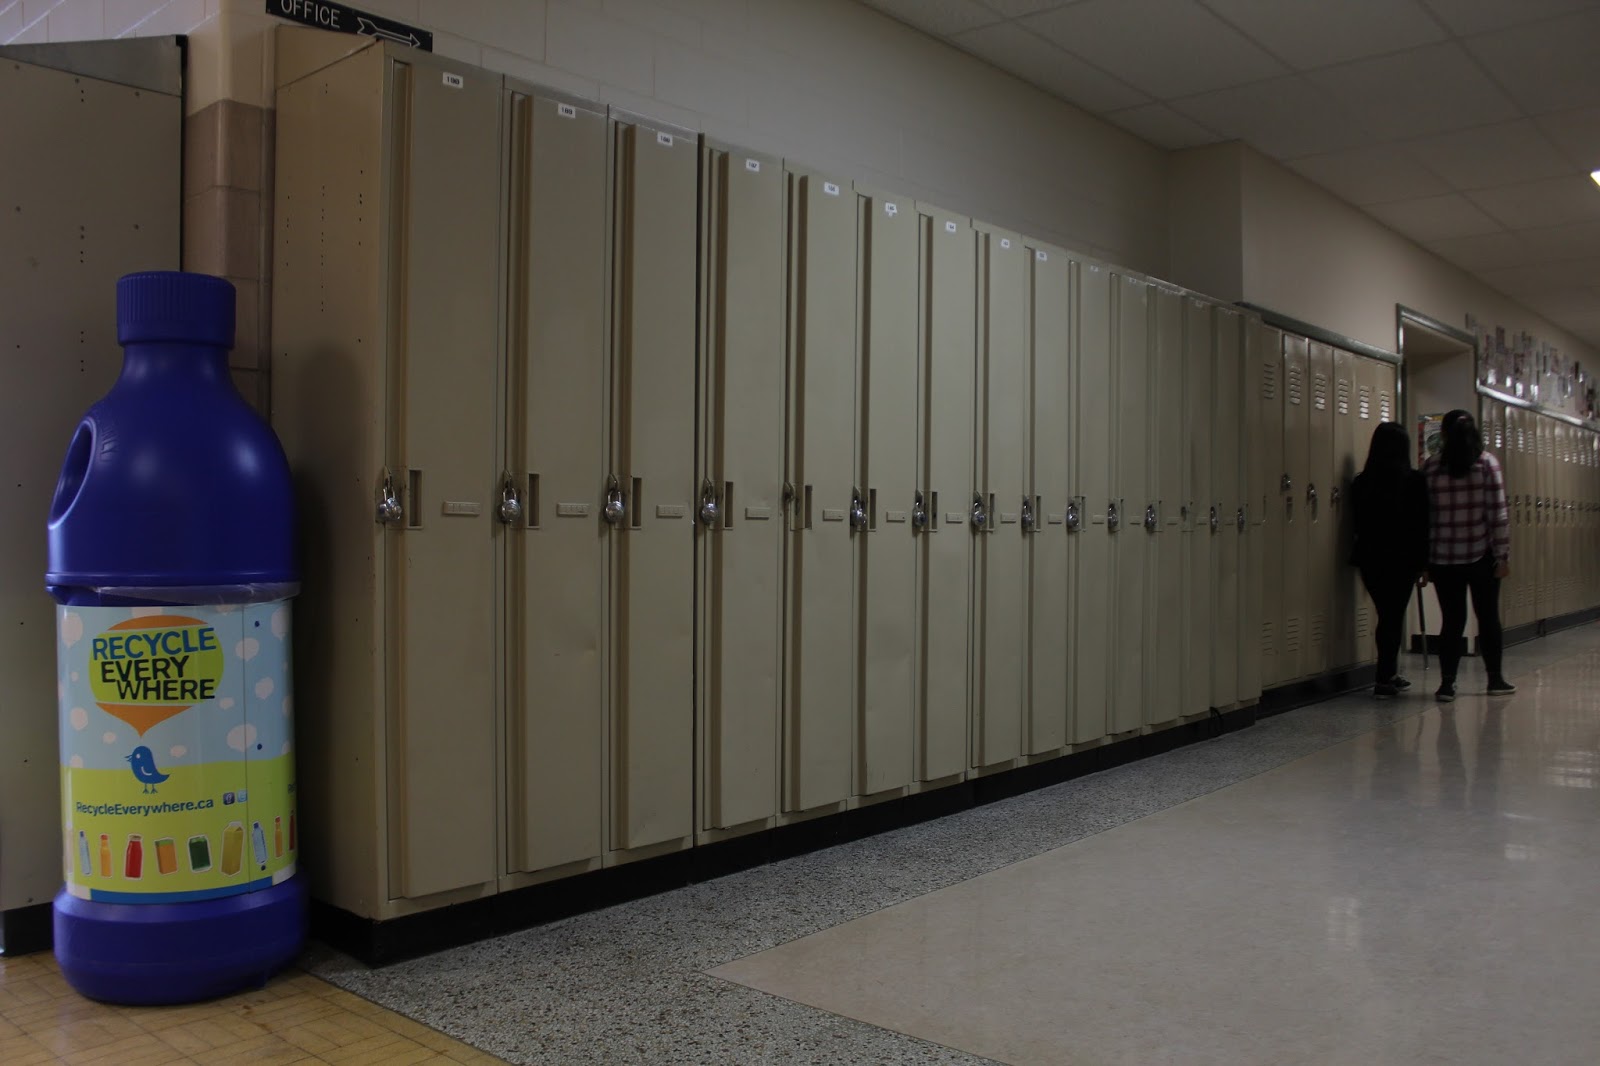
Here is my photo merge picture
To take a photo merge picture,
you would need to take multiple pictures of the same background. The camera
would need to be still and in the same position while taking the pictures. What
I did to make a photo merge is I had my friend, Francheska to pose in different
areas of the hallway. You can ask your model to do anything such as dribble a
basketball, jump around as long as the background stays the same. After taking
the pictures, I went to Adobe Photoshop and go to photo merge, photo enhance,
then go to scene cleaner.
Francheska was posing in various ways.
One picture, she was leaning on the wall and dramatically looking at the side.
While on some picture, she was hugging the door and the wall while laughing. What
I want is Francheska to have a various expression and to be in different areas.
These are some of the pictures that I took to make a photo merge